Showing posts with label closet. Show all posts

10.25.2012

Organize It: Front Closet!

Welcome to Part 4 of my "Organize It" week!  So far, I've organized the kitchen fridge, laundry room, and bathroom cabinets. Today, I'm tackling the front closet. Now, I'm going to be honest here, my front hall closet isn't a huge problem in my home. But, I know that for others, especially those with little ones, the collection of coats, shoes, boots, backpacks, and outdoor accessories can just about drive anyone nuts! For us in my home, the inside of the front hall closet normally has a mountain of shoes and boots in it. And this typically drives me nuts!

So, here's what a little organization can do to this small space...


Inside the closet door, I've installed a metal hook specifically for my dog's leash. This way it won't sit on the floor of the closet, or go missing elsewhere in the house.


Boots, shoes, and sandals can easily end up in a pile in the front closet. And noone wants to go searching for the shoe mate when you are trying to get out the door. So, a simple wood rack from IKEA and extra space for boots leaves ample storage space for all your footwear. It's also a good idea to keep your current and usual footwear in the front closet, and your extra shoes in another spot in the house (I keep all my other shoes in my walk-in closet, which you can read more about here).


Above the coats, I have two different size wicker baskets that hold outer accessories and other necessities.


The smaller basket holds necessities such as umbrellas, flashlights, and a lint remover. These go-to items can easily get misplaced around the house, and are almost always the thing you are looking for as you are heading out the door for the day.


In the larger of the two baskets, you'll find all outerwear accessories such as winter hats (or toques to my fellow Canadians), mitts (such as my Vancouver 2010 Olympic mitts), and scarves (like my hubby's fleece Ottawa Senators scarf - boo NHL lockout!).


How have you organized your front hall closet? Do you switch it out based on the season, or do you keep everything the same year round?

Tune in tomorrow for the final part of Organize It week where we'll look at the linen closet.


8.28.2012

DIY: Home Office Closet Organization

When we moved into our new home last fall, our home office became a dumping ground for papers, files, and stuff that didn't have a place. Scratch that. I'm lying. This problem stems back to our first home - the office was disorganized then too. I hope I'm not the only one who seems to have this issue.

The coffee table in this room became the stomping ground for paperwork, stuff that needed to be taken care of, and filing. For your own benefit, I didn't take a before shot. Trust me, you'll thank me. Basically, this table was littered with clutter. And although I walked by it everyday and said to myself that I really needed to deal with it, I didn't. I put it off to another day.

Well, that other day came and I decided it needed to be taken care of. No, that's a lie too. I was forced into dealing with it - my brother-in-law and his girlfriend recently moved in with us until their new home would be ready this fall. This room would become their "living room" since there is a couch in here and plenty of room. But, the chaos that this table had become needed to be taken care of before they moved in. And to save my sanity. Even just a little bit.

The main problem we were facing was storage - the lack of storage. We have a desk with no drawers and two Ikea Billy bookcases. The bookcases helped with some of the clutter, but not all of it. After organizing the bookcases, we were left with office and art supplies, scrapbooking stuff, fabric samples, ribbon, filing - you get the idea.

The solution was to redo the closet in the home office with built-in shelving. But, we didn't want it to be a permanent change since we may need to use this closet for clothes storage at some point in the future.

Here is a look at the under-utilized closet before (yup, it's pretty much empty):


And here is the AFTER:


First, we removed the two small rods to make way for the shelving units. The shelving units we found at Canadian Tire for less than $40 each. They are far from fancy, but they do the trick. And when the time may come when we need to convert this closet back for clothes storage, we can easily use these shelving units in the basement or garage, and simply reinstall the rods.

Once the shelving units were installed, it was just a matter of figuring out what needed a place and how I was going to organize it. The storage boxes are all from IKEA. I bought varying sizes to accommodate anything and everything that I have, plus room to grow. I also decided to give the storage box labels more personality by using scrapbook paper rather than the plain white labels that come with.


The left side of the storage unit houses my 3-hole punch, paper cutter, camera (and bag), and my filing box (for household bills, house documents, etc).


Storing printer paper can become messy since it needs to stay in a proper place to not be damaged. So, I decided to put my paper - printer paper, lined and holed paper, and legal-size cardstock (for design boards) - in a tiered organizer that I got from IKEA.


The right side of the unit holds a variety of storage boxes for markers, ribbon, scrapbooking accessories, and fabric samples.


It really is that simple. Now we have loads of storage space in a previously unused closet. Easy peasy.

(You'll get to see more of our home office as I slowly redo it).

8.14.2012

Master Closet Reveal

Last week, I posted about closet inspiration while I was designing my walk-in closet makeover. And today, I will reveal to you all the hard work that my husband put into making my design a reality.

Let's look back at what I was dealing with...


And as you can see, there is very little storage space. The builder installed an L-shaped rod for hanging space, and one L-shaped shelf. This allowed for little space for folded clothes. Plus my shoes and purses would be either scattered on the floor or shoved on the shelf. Not practical when you are trying to pull together an outfit.

And, here is the AFTER...


When designing this closet, I decided on floor-to-ceiling storage. Since it isn't a very large space, I wanted to use every square inch of it to maximize storage - not only for what I already owned, but to allow room for what I haven't bought yet.

In order to do this, I included the following in my design:

  • A wall of double hung rods for plenty of hanging space for tops and bottoms. 
  • Another rod hung slightly higher to give plenty of room for dresses and long skirts.
  • A space dedication specifically for shoes (ie: a wall of shelving on one side)
  • Shelves for folded clothes and other small accessories (such as hats, pashminas, sunglasses etc).
  • And lastly, I needed a spot for purses.

We also decided to paint the closet white to make the space appear brighter, and then we added dark chocolate shelving for contrast.

The corner shelf offers plenty of space for folded jeans, hoodies, and extra accessories.


The shoe shelf offers storage for about 50 pairs of shoes. I also chose to make the shelves at various heights to allow for plenty of room for heels and flats which maximizes the storage space. 


I also decided to run a shelf around the top perimeter of the closet (including over the door) to allow for storage of purses, extra shoes, and off-season wear.


I now have oodles of storage space, plus tons of room to grow too. I got each of the requirements off my list, and I couldn't be happier with the results. And I'm especially grateful that I have such a wonderful husband that would put in so much time of his vacation to build me this beautiful closet!

8.10.2012

Closet Confidential

When we moved into our new home, I was beyond thrilled to have my own closet. In our previous home, my husband and I shared a walk-in closet. Which was doable, but I always wanted my own space. In this home, I have my own walk-in closet, while my husband have a standard closet (which suits him just fine). I thought that the walk-in closet had more than enough space for all my things, but within a very short period of time (I'm talking once I unpacked all my clothes), I had run out of space. I guess it doesn't take much when you have a mountain of purses and shoes to store.

I told my hubby that I wanted to redo the closet, but with all the other changes we were making to the house, this was far from priority (well, for him at least). He did agree to redo it during his August holidays this year (so sweet, right?).

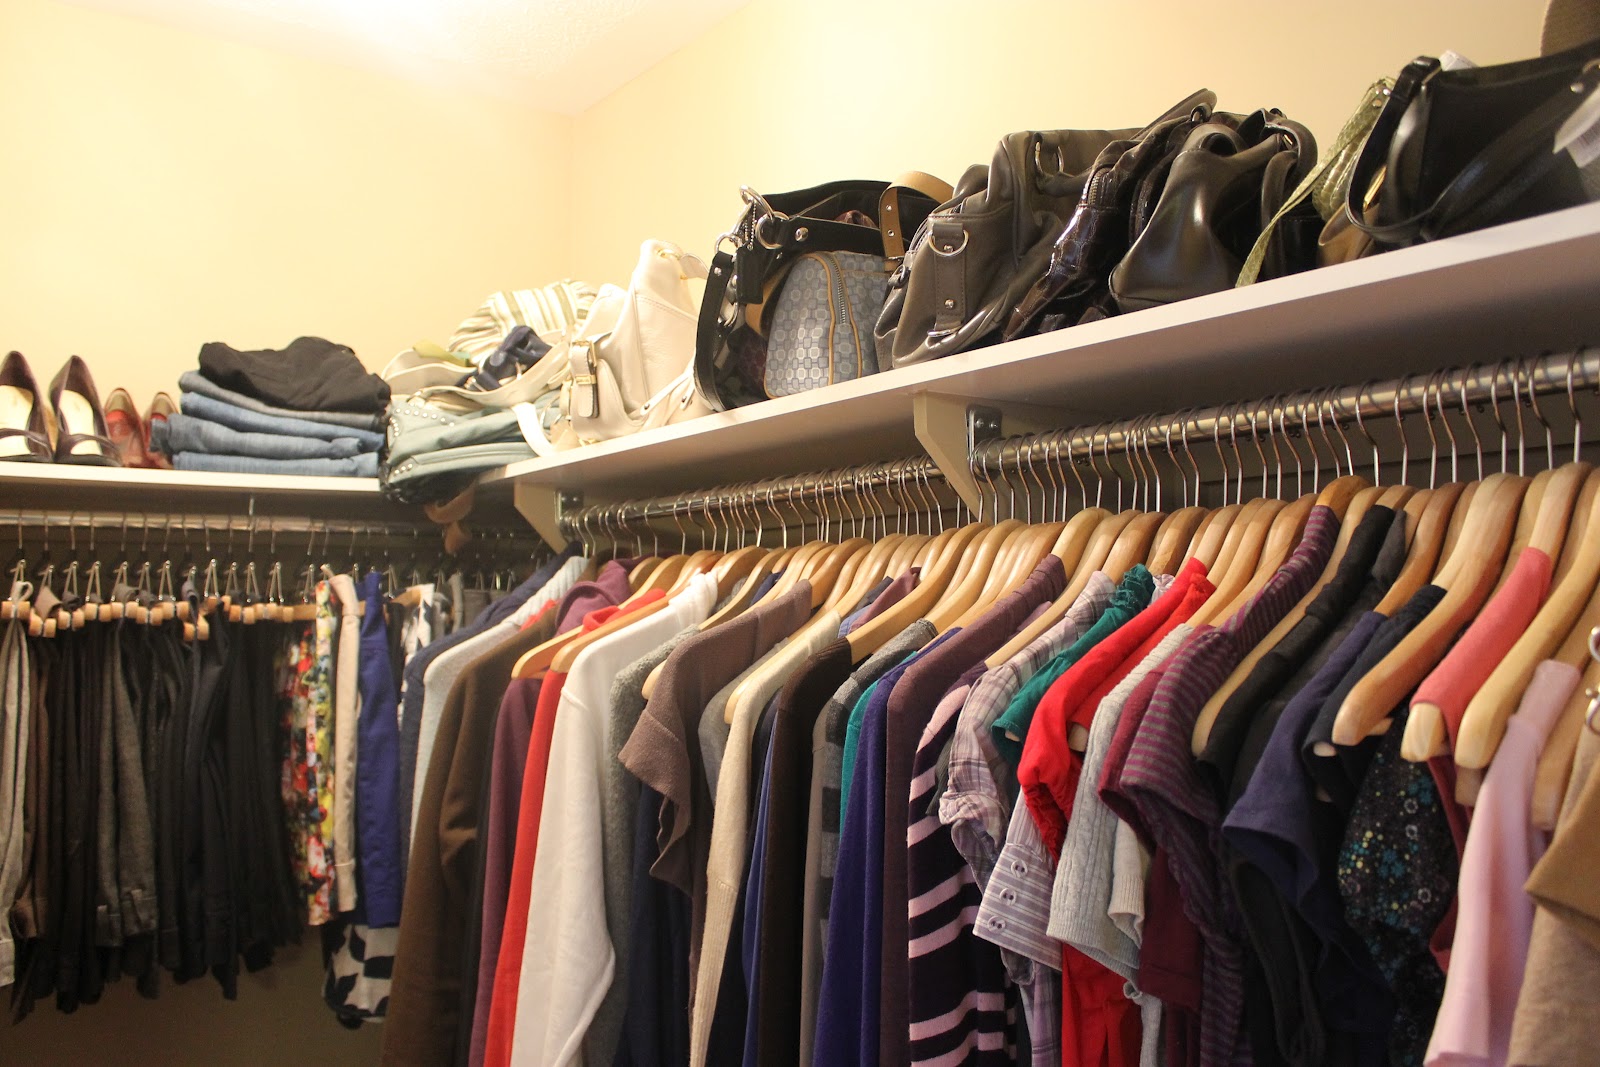
The walk-in closet isn't very big. It's only about 5'x7', so there are only so many configurations I can do. Here's a look at the current state of my closet...


Pretty bad eh? You'll see that there really is a lack of storage. There is a lot of wasted space on top, and lots of wasted space on the empty wall to the left.

Before I designed my closet, I thought I would look at some storage solutions and closet configurations for a smaller walk-in closet like I have.


I love the use of space in this small closet. Everything has its place. Plenty of room for everything - shoes, purses, hanging clothes, and drawers for folded clothes. 


Corners can be such an awkward part of organizing a closet, so I love the clever use of this space. It allows for plenty of room for folded clothes, shoes, or purses.


I'm hoping to have a bit of counter space or maybe a 
shelf where I could store jewelry.


I love the idea of using the space over the door. This was something that I have already decided to do in my own walk-in. My goal is to use every inch of space.


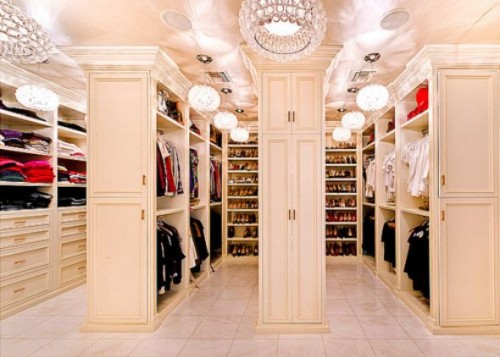
I couldn't do a post about walk-in closets, without including pics of a few dream closets...


And then, of course, there's Carrie's closet from Sex and the City...


And Sex and the City 2...


Do any of you have a small, but very functional closet? Any advice to give for my own redesign?

(Stay tuned for my master closet reveal next week...)

Related Posts Plugin for WordPress, Blogger...